What Is the Garmin R10 and How Does It Transform Your Home Golf Setup?
The Garmin R10 is a portable launch monitor that uses advanced radar technology to deliver accurate golf shot data in your home. Released as Garmin’s answer to affordable home simulation, it captures ball speed, launch angle, spin rate, and distance with impressive precision. Unlike expensive indoor golf systems costing five figures, the R10 offers professional-grade metrics at a fraction of the price. This makes it ideal for golfers who want serious swing analysis without a dedicated simulator room. The device pairs seamlessly with compatible software platforms to create a complete home golf experience.
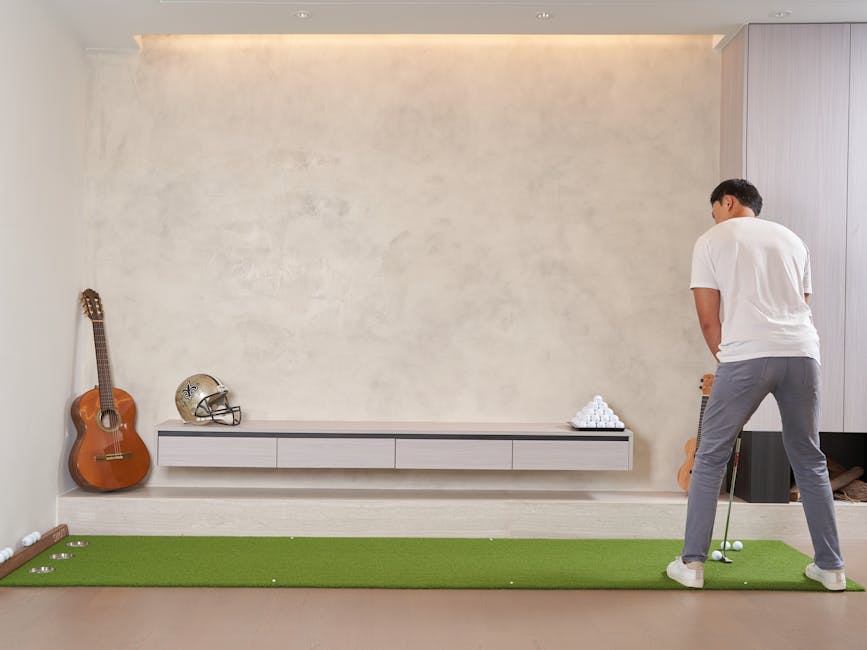
Setting up a home simulator space around the R10 requires thoughtful planning. You need adequate ceiling height, proper lighting, and enough floor space for your swing. The device itself is compact, but your overall room dimensions directly impact your practice quality. Many golfers underestimate how much space a functional simulator actually needs. Understanding these requirements upfront prevents costly mistakes and frustration later.
Key Takeaway: The Garmin R10 brings affordable launch monitor technology home, but success depends on proper space planning and setup.
How Much Space Do You Actually Need for a Garmin R10 Home Simulator?
Minimum space requirements for the R10are more modest than full-size simulators, but “minimal” doesn’t mean cramped. Garmin recommends at least 10 feet of depth behind the ball and 8 feet of width for a comfortable swing. Ceiling height should be at least 9 feet, ideally 10 or higher, to accommodate full swing follow-throughs without hitting the ceiling. The R10 itself sits about 6 feet away from the hitting area. These dimensions create a functional practice zone where you can work on your swing without constant compromise.
Room shape matters as much as raw square footage. A rectangular space works better than an L-shaped or oddly angled room. Corners and obstacles create dead zones where the radar signal weakens. Hard walls reflect radar signals, which can introduce minor inaccuracies. Many experienced users add soft furnishings or acoustic panels to minimize reflection issues.
Here’s what a realistic space breakdown looks like:
- Hitting area: 10 feet deep × 8 feet wide minimum
- R10 placement zone: 6 feet behind the ball, elevated on a stand or tripod
- Target/screen area: 8-10 feet away from the R10 device
- Side clearance: 2-3 feet on each side for safety and comfort
- Total recommended footprint: 15 × 12 feet (180 square feet)
Many home simulator enthusiasts work with smaller spaces by using netting or hitting bays. A 12 × 10 foot basement corner can work if you’re willing to accept some limitations. Garage setups are popular because they offer height and width, though temperature control becomes important in extreme climates.
Key Takeaway: The R10 needs at least 180 square feet, but 200-250 square feet provides comfortable practice without constant adjustment.
What Are the Best Room Locations for Your Garmin R10 Setup?
Location choice significantly impacts your simulator experience. Basements offer climate control and privacy, but low ceilings often force compromises. Spare bedrooms provide good ceiling height but may lack width. Garages deliver excellent dimensions but require heating or cooling solutions. Dedicated rooms allow the best optimization, though few golfers have that luxury. Your choice depends on balancing space availability, climate control needs, and family dynamics.
Lighting deserves serious consideration. The R10 works in low light, but you’ll struggle to see your ball flight on a screen in bright sunlight. East or west-facing rooms with large windows create glare problems. North-facing spaces provide consistent, diffused light. Basements naturally eliminate sunlight issues but require artificial lighting. Quality LED panels positioned above and to the sides of your hitting area work best.
Basement Setups: Pros and Cons
Basements are the most popular choice for home simulators. They offer consistent temperature, privacy, and typically good width. Ceiling height is the main limitation—many basements sit at 8 feet, which is tight for tall golfers. Moisture control matters; dehumidifiers prevent damage to electronics. Concrete floors are excellent for stability but hard on joints during extended practice sessions. Adding a mat or rubber flooring improves comfort significantly.
Garage Conversions: Making It Work
Garages provide outstanding space dimensions and ceiling height. The main challenges are temperature fluctuations and potential moisture issues in humid climates. Insulation upgrades pay dividends in cold regions. Epoxy flooring looks professional and cleans easily. Overhead storage keeps the space uncluttered. A dedicated garage simulator setup rivals dedicated rooms in functionality.
Key Takeaway: Basements offer climate control, garages offer space, and each location requires specific upgrades to maximize R10 performance.
How Do You Optimize Lighting and Visibility in Your R10 Space?
Poor lighting ruins the home simulator experience. You’ll miss seeing your ball flight, struggle to read screen data, and experience eye strain during practice sessions. The R10 projects data onto a screen or wall, but ambient light directly affects visibility. Bright sunlight creates glare that makes screens unreadable. Conversely, total darkness strains your eyes during extended sessions. The sweet spot is controlled, dimmed lighting with a dedicated screen area.
Professional simulators use blackout curtains or dedicated dark rooms. You don’t need that extreme, but controlling natural light helps tremendously. Heavy thermal curtains block sunlight while providing insulation benefits. For artificial lighting, avoid overhead fixtures that cast shadows over your hitting area. Instead, position LED panels on the walls flanking your screen or hitting zone.
Consider these lighting upgrades:
- Blackout or thermal curtains for windows to eliminate glare
- LED panel lights (5000K color temperature) positioned at shoulder height
- Dimmable switches to adjust brightness for different times of day
- Accent lighting around the screen area to reduce contrast strain
- Avoid overhead fixtures directly above the hitting zone
Screen Placement and Viewing Angles
Your R10 projects data onto a wall, screen, or impact screen. Placement height matters for comfortable viewing. The screen should be at eye level when you’re in your address position, roughly 4-5 feet high. If mounted too low, you’ll develop neck strain. Too high, and you lose sight of your ball flight. Most setups position the screen 8-10 feet away from the R10 device, which matches typical golf course distances.
Key Takeaway: Controlled lighting and proper screen placement transform your R10 from a data collection device into an engaging practice experience.
What Equipment and Accessories Enhance Your Garmin R10 Home Simulator?
The R10 itself is just the starting point. Complementary equipment elevates your setup from functional to professional. A quality impact screen stops errant shots and displays your ball flight. Launch monitors work best with hitting mats that provide consistent surface feedback. Tripods or stands position the R10 at the correct height and angle. Software subscriptions unlock full simulator features and course play. Together, these components create an immersive practice environment.
Budget considerations vary widely. A basic setup costs $2,500-$4,000 total. Premium setups with high-end screens and software reach $8,000-$12,000. Many golfers start basic and upgrade gradually. The R10 itself is the investment anchor; everything else scales to your budget and space.
Essential accessories for your R10 setup include:
- Impact screen or projector screen (8-10 feet wide recommended)
- Professional golf hitting mat with turf surface
- R10 tripod or mounting stand for stable positioning
- Quality projector or impact screen display system
- Hitting net or safety barrier behind the screen
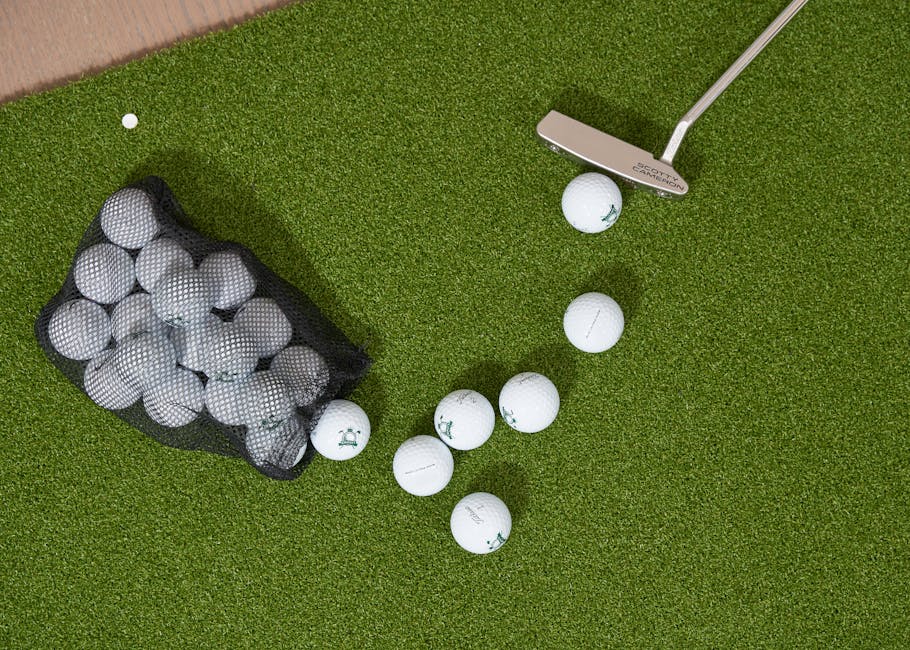
- Golf balls (used or range balls work fine)
- Software subscription (Garmin Golf, E6Connect, or similar)
Choosing the Right Impact Screen
Impact screens absorb ball strikes and project your flight path simultaneously. They range from $1,500 to $5,000 depending on size and quality. Larger screens (10 feet wide) provide better immersion but cost more and require more space. Durable materials withstand thousands of ball strikes without degrading. Projection quality affects how clearly you see your shot data and ball flight visualization.
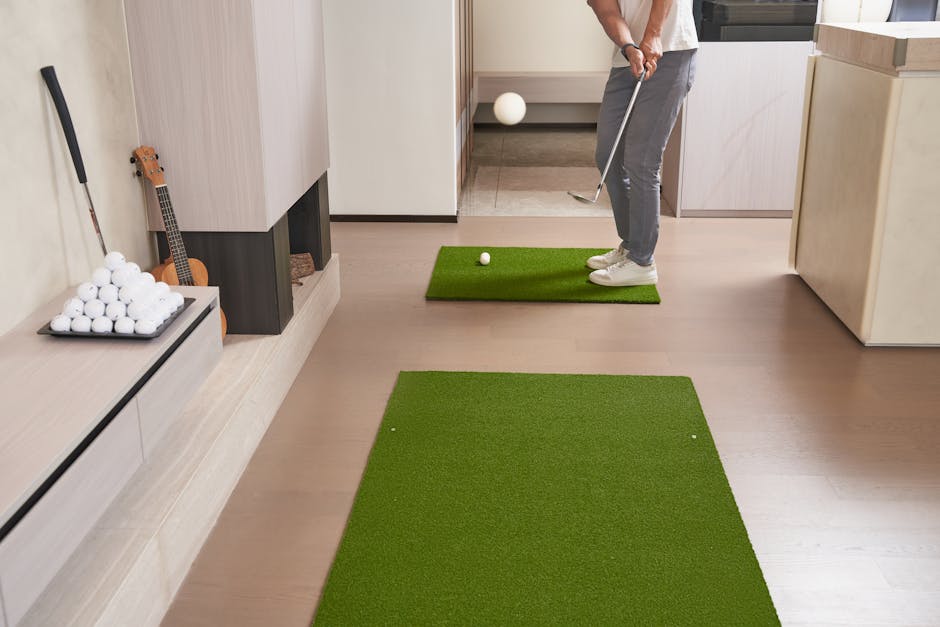
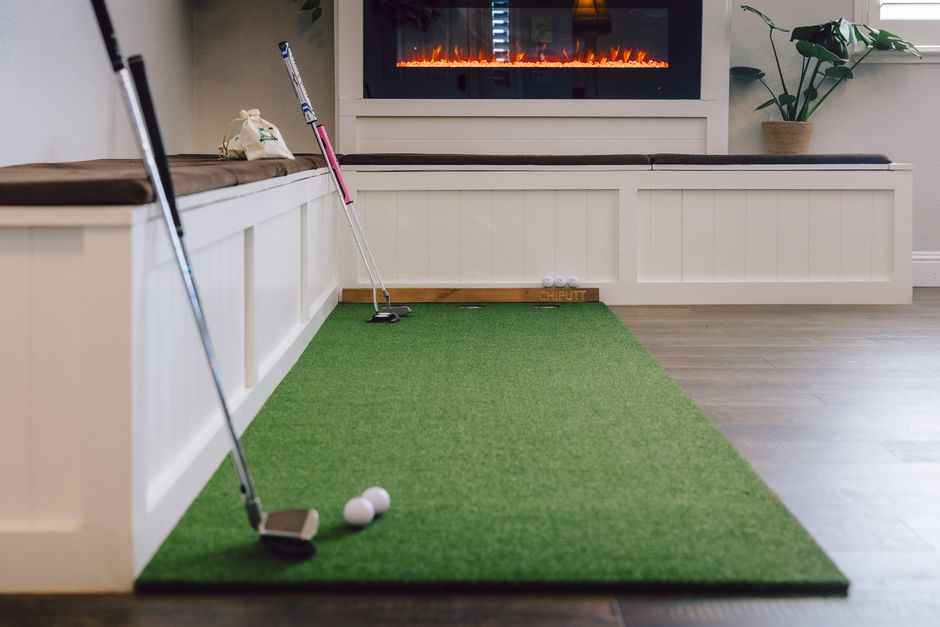
Hitting Mat Selection and Placement
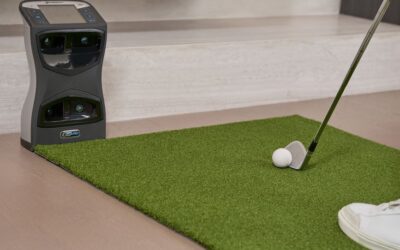
A quality hitting mat provides realistic turf feedback and protects your floor. Premium mats cost $500-$1,200 and last years with proper care. They should sit directly under where your ball rests during address. The mat position relative to the R10 is critical—typically 6 feet away, with the device elevated on a stand. Proper alignment ensures accurate radar readings.
Key Takeaway: A complete R10 setup requires an impact screen, hitting mat, and software subscription to unlock full simulator potential.
How Can You Maximize Practice Efficiency in Your Home Simulator Space?
Space optimization goes beyond physical dimensions. How you use your space determines practice quality and results. Many golfers waste time fumbling with equipment or dealing with technical issues. Proper organization, cable management, and workflow design turn your simulator into an efficient practice tool. The best setups feel intuitive and require minimal setup before each session.
Start by creating defined zones: hitting area, R10 position, screen area, and equipment storage. Label cables and connections so you can troubleshoot quickly. Store golf balls in a convenient bin near your hitting mat. Keep your phone or tablet nearby for software access. A small side table holds water, towels, and notes. These small touches dramatically improve the practice experience.
Practical efficiency tips for your R10 space:
- Pre-set the R10 position and angle; mark the spot with tape
- Label all cables with color-coded tape for quick identification
- Store golf balls in a rolling bin for easy access
- Keep a tablet mount at eye level for software control
- Use cable ties and conduit to organize wiring along walls
- Create a pre-session checklist to ensure everything powers on correctly
Software Integration and Data Tracking
The R10 pairs with multiple software platforms, each offering different features. Garmin Golf provides basic simulation and course play. E6Connect offers realistic course graphics and competitive play options. TruGolf delivers tournament-style experiences. Your choice depends on practice goals and budget. Most subscriptions cost $10-$30 monthly. Integration with your smartphone or tablet allows real-time data review and shot analysis.
Key Takeaway: Organized space layout and software integration transform your R10 setup into an efficient, enjoyable practice environment.
What Are Common Setup Mistakes to Avoid With Your Garmin R10?
New R10 owners frequently make preventable mistakes that limit performance. Understanding these pitfalls helps you build a better setup from day one. The most common error is underestimating space requirements. Golfers squeeze the R10 into tight corners, then struggle with inaccurate readings and poor practice experiences. Another mistake is poor R10 positioning—it must be elevated and angled correctly to capture accurate data. Neglecting lighting creates visibility problems that frustrate users within weeks.
Technical mistakes include inadequate software setup and poor cable management. Many golfers buy the R10 but never subscribe to simulation software, limiting their practice to basic metrics. Tangled cables and poor organization create daily frustrations. Environmental issues like high humidity or extreme temperatures damage electronics over time. Addressing these problems upfront saves money and maximizes enjoyment.
Mistakes to avoid when setting up your R10 home simulator:
- Placing the R10 too close to the hitting area; maintain at least 6 feet distance
- Skipping software subscription; it’s essential for full simulator features
- Ignoring ceiling height; 9 feet minimum prevents swing restriction
- Poor R10 elevation; it should be at knee height, not on the ground
- Inadequate lighting; plan for controlled, adjustable illumination
- Neglecting cable management; organize wiring from day one
- Choosing a room with excessive sunlight glare
Key Takeaway: Proper space planning, correct R10 positioning, and adequate lighting prevent the most common setup failures.
How Does Your R10 Space Compare to Alternative Home Golf Solutions?
The R10 is one option among several home golf technologies. Understanding alternatives helps you choose the right solution for your needs. Full simulator systems like TrackMan or Foresight Sports offer superior accuracy but cost $20,000-$50,000 and require dedicated rooms. Portable launch monitors like the FlightScope Mevo+ provide similar R10-level performance at comparable prices. Swing analyzers and app-based systems cost less but provide limited data. The R10 balances affordability, accuracy, and space efficiency better than most alternatives.
For more information on premium alternatives, see our Garmin Approach R50 Home Tee Hero in 2026 Complete Setup & Performance Guide, which explores how Garmin’s higher-end option compares to the R10.
Comparison of home golf solutions:
- Garmin R10: $3,000-$4,000 total setup, 180 sq ft space, good accuracy
- Full simulators (TrackMan): $25,000+, 300+ sq ft, excellent accuracy
- Portable monitors (Mevo+): $3,500-$4,500, flexible space, good accuracy
- App-based systems: $500-$1,500, minimal space, basic metrics only
- Swing analyzers: $200-$800, no space requirement, limited data
Key Takeaway: The R10 offers the best value for home golfers seeking affordable accuracy without dedicated room requirements.
How Should You Plan Your Garmin R10 Home Simulator Space in 2026?
Building a home simulator space requires thoughtful planning across multiple dimensions. Start by measuring your available space and confirming it meets minimum requirements: 15 feet deep, 12 feet wide, and 9 feet tall. Assess room conditions including lighting, climate control, and electrical access. Determine your budget for the complete setup, including the R10, screen, mat, software, and accessories. Create a detailed floor plan showing R10 position, hitting area, screen placement, and equipment storage. This planning phase prevents costly mistakes and ensures your space works from day one.
Implementation should follow a logical sequence. First, prepare the room—paint, lighting, and any structural work. Next, install the impact screen and hitting mat. Then position and calibrate the R10 device. Finally, set up software and test the complete system before committing to regular practice. This methodical approach catches problems early when they’re easiest to fix.
Key Takeaway: Successful R10 setups combine adequate space, proper positioning, quality accessories, and careful planning to create an enjoyable, efficient practice environment.
Frequently Asked Questions
Can You Use the Garmin R10 in a Small Apartment or Condo?
The R10 can work in smaller spaces with compromises. A 10 × 12 foot bedroom or den provides minimum functionality. You’ll need to accept limited follow-through and shorter shot distances on screen. Apartment-friendly setups often use netting or hitting bays to contain balls. Climate control matters more in apartments due to shared walls. Many apartment dwellers use the R10 for swing analysis rather than full course simulation.
What Temperature and Humidity Levels Are Safe for the R10?
Garmin recommends operating temperatures between 32°F and 104°F. Humidity should stay below 85% to prevent electronics damage. Basements in humid climates need dehumidifiers. Garages in cold regions require insulation and heating. Avoid placing the R10 in direct sunlight or near heat sources. Proper environmental control extends device lifespan and ensures consistent performance.
Do You Need a Dedicated Internet Connection for the R10?
The R10 itself doesn’t require internet for basic operation. However, simulation software and course play features need reliable WiFi or broadband. A dedicated 5GHz WiFi network separate from household traffic works best. Ethernet connections via a nearby router provide superior stability. Poor internet causes lag and disconnections during practice sessions. Most golfers invest in quality home network infrastructure for smooth operation.
How Often Should You Calibrate Your R10 Device?
Garmin recommends calibration before your first use and whenever you move the device. Regular users should recalibrate monthly or if accuracy seems off. Calibration takes 10-15 minutes using provided test balls. Proper calibration ensures accurate ball speed, launch angle, and distance readings. Skipping calibration introduces systematic errors that accumulate over time.
Can You Use the R10 Outdoors or Only Indoors?
The R10 works outdoors on driving ranges or practice areas. Outdoor use provides realistic ball flight without screen limitations. However, sunlight and weather affect performance. Most users prefer indoor setups for convenience and consistency. Outdoor practice with the R10 complements indoor simulator work for comprehensive training.
What’s the Expected Lifespan of a Garmin R10 Device?
With proper care, an R10 typically lasts 5-7 years. Regular cleaning, proper storage, and environmental control extend lifespan. Firmware updates keep the device compatible with current software. Battery replacement is straightforward if wireless operation is needed. Many owners upgrade to newer models for enhanced features rather than device failure.
Should You Invest in a Garmin R10 Home Simulator Space in 2026?
A Garmin R10 home simulator space represents a significant investment in your golf game. The complete setup costs $3,500-$5,000 initially, with ongoing software subscriptions adding $10-$30 monthly. The value depends on your commitment to practice and improvement. Serious golfers who practice 3-4 times weekly find exceptional ROI through improved swing mechanics and lower scores. Casual players might find the investment excessive unless they value convenience highly. Consider your current practice frequency and long-term golf goals before committing.
The R10 specifically excels for golfers with limited time or poor weather access. Indoor practice during winter months keeps your swing sharp. Detailed metrics guide improvement more effectively than outdoor practice alone. The ability to analyze every shot builds consistency and confidence. If you’ve been considering home golf technology, the R10 offers the best balance of affordability, accuracy, and space efficiency available in 2026.
Ultimately, success depends on your space, budget, and commitment to regular practice. Proper setup transforms the R10 from a gadget into a powerful training tool that accelerates improvement and deepens your enjoyment of golf.


Write Your Review
No reviews yet. Be the first to share your experience!